Your server must have a running web server (Apache or Nginx) with PHP installed. If you don’t have a web server and PHP on your system, you can install them using yum package manager as shown.
Step 1: Install Apache or Nginx Web Server with PHP
1. If you already have a running web server Apache or Nginx with PHP installed on your system, you can jump to the Step 2, otherwise use the following yum command to install them.
2. After installing Apache or Nginx with PHP on your system, start the web server and make sure to enable it to auto start at system boot time using following commands.
Step 2: Download IonCube Loader
3. Go to the inocube’s website and download the installation files, but before that first you need to check whether your system is running on 64-bit or 32-bit architecture using the following command.
The above output clearly shows that the system is running on 64-bit architecture.
As per your Linux system architecture type download the ioncube loader files into /tmp directory using following wget command.
4. Then unzip the downloaded file using the tar command and move into the decompressed folder. Then run the ls command to list the numerous ioncube loader files for different PHP versions.
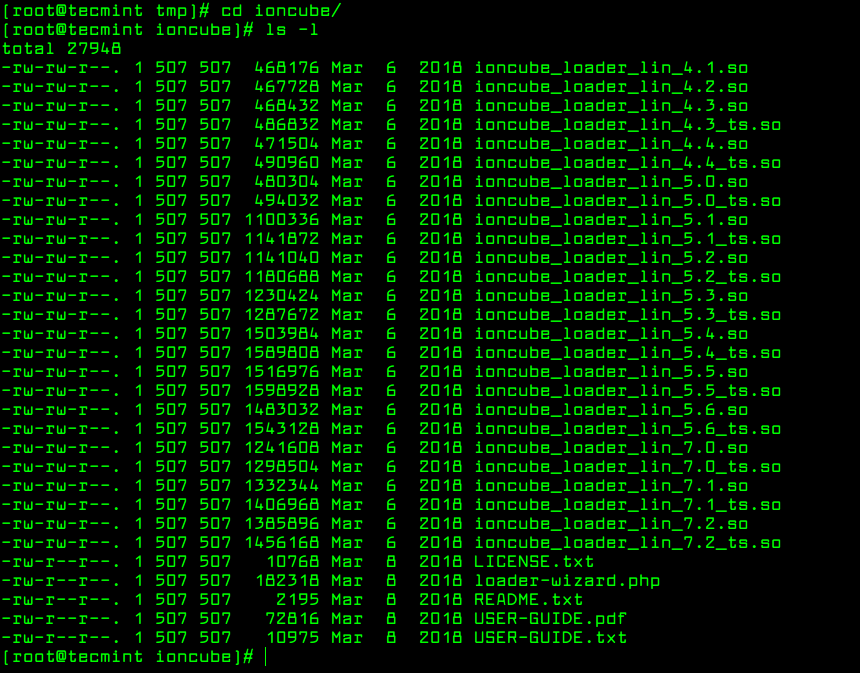
Ioncube Loader Files
Step 3: Install ionCube Loader for PHP
5. There will be different ioncube loader files for various PHP versions, you need to select the right ioncube loader for your installed PHP version on your server. To know the php version installed on your server, run the command.
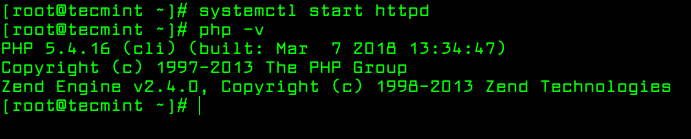
Verify PHP Version
The above output clearly shows that the system is using PHP 5.4.16 version, in your case it should be different version.
6. Next, find the location of the extension directory for PHP version 5.4, it is where the ioncube loader file will be installed. From the output of this command, the directory is /usr/lib64/php/modules.
7. Next we need to copy ioncube loader for our PHP 5.4 version to the extension directory (/usr/lib64/php/modules).
Note: Make sure to replace the PHP version and extension directory in the above command according to your system configuration.
Step 4: Configure ionCube Loader for PHP
8. Now we need to configure ioncube loader to work with PHP, in the php.ini file.
Then add below line as the first line in the php.ini file.
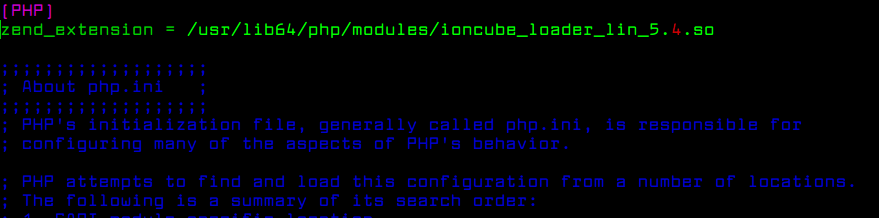
Enable ionCube Loader in PHP
Note: Make sure to replace the extension directory and PHP version in the above command according to your system configuration.
9. Then save and exit the file. Now we need to restart the Apache or Nginx web server for the ioncube loaders to come into effect.
Step 5: Test ionCube Loader
10. To test if ionCube loader is now installed and properly configured on your server, check your PHP version once more. You should be able to see a message indicating that PHP is installed and configured with the ioncube loader extension (status should be enabled), as shown in the following screenshot.

Test ionCuber Loader
The above output confirms that the PHP is now loaded and enabled with ioncube loader.
ionCube loader is a PHP extension for loading files secured and encoded with PHP encoder. We hope that everything worked on fine while following this guide, otherwise, use the feedback form below to send us your queries.
0 komentar:
Posting Komentar